🚀 INTRODUCTION
Contents
🚀 INTRODUCTION#
This is a python library to process and analyze raw data from the lab. The design objectives were:
To have a classless structure. We store in dictionaries all the run/ch information + the waveforms.
Avoid as much overcalculation as possible, in particular:
Calculate pedestal/charge/time values all at once and store them separately from the raw data.
Prevent excessive memory usage when dealing with multiple runs.
Avoid complicated hierarchies and commented/uncommented lines with the same code.
To have all the functions compatible between them and moreover, that the obtained output is suitable to be used with all the functions.
🧐 OBJECTIVES
Study the detector
GAIN → Calibration → {CUTS + GAUSSIAN FITS}
Data analysis (RAW processing)
Characterization → Effective fits, cross-talk, noise, etc.
Physics studies
Signal deconvolution
Physics fits
MC simulations
Electronics studies
Getting Started - SETUP ⚙️#
Note
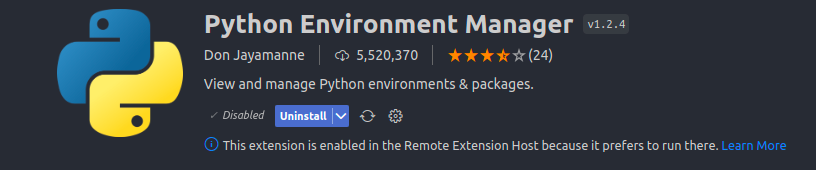
We recommend to install VSCode as editor. Some useful extensions are: Remote-SSH, Jupyter, vscode-numpy-viewer, Python Environment Manager
Check that you have python installed with a version
>=3.7by runningpython --version. If you are working locally and you do not have it runsudo apt-get updateandsudo apt-get install python3-pipto start.
1. Configure your SSH connection#
To run the SCINT library you will need to work from any PCAE at CIEMAT or establish an SSH connection from your laptop.
Terminal pro-users:
ssh AFS_USER@YOUR_PCAE.ciemat.esorssh AFS_USER@gaeuidc1.ciemat.esVSCode users:
Click on the Remote-SSH icon
Add new SSH remote connection
Type
ssh AFS_USER@gaeuidc1.ciemat.esIntroduce your AFS password
Work as usual in the new window that appears
You can change your SSH configuration at
.ssh/config
2. Download the library by cloning it from GitHub#
git clone https://github.com/CIEMAT-Neutrino/SCINT.git
cd SCINT
# code . #[OPTIONAL]: Opens a new window with all the folders inside SCINT for easy coding
Please, create a branch for including changes in the library and if everything works as it should you could merge with the main one.


Or run git checkout -b <your_branch_name> in a terminal.
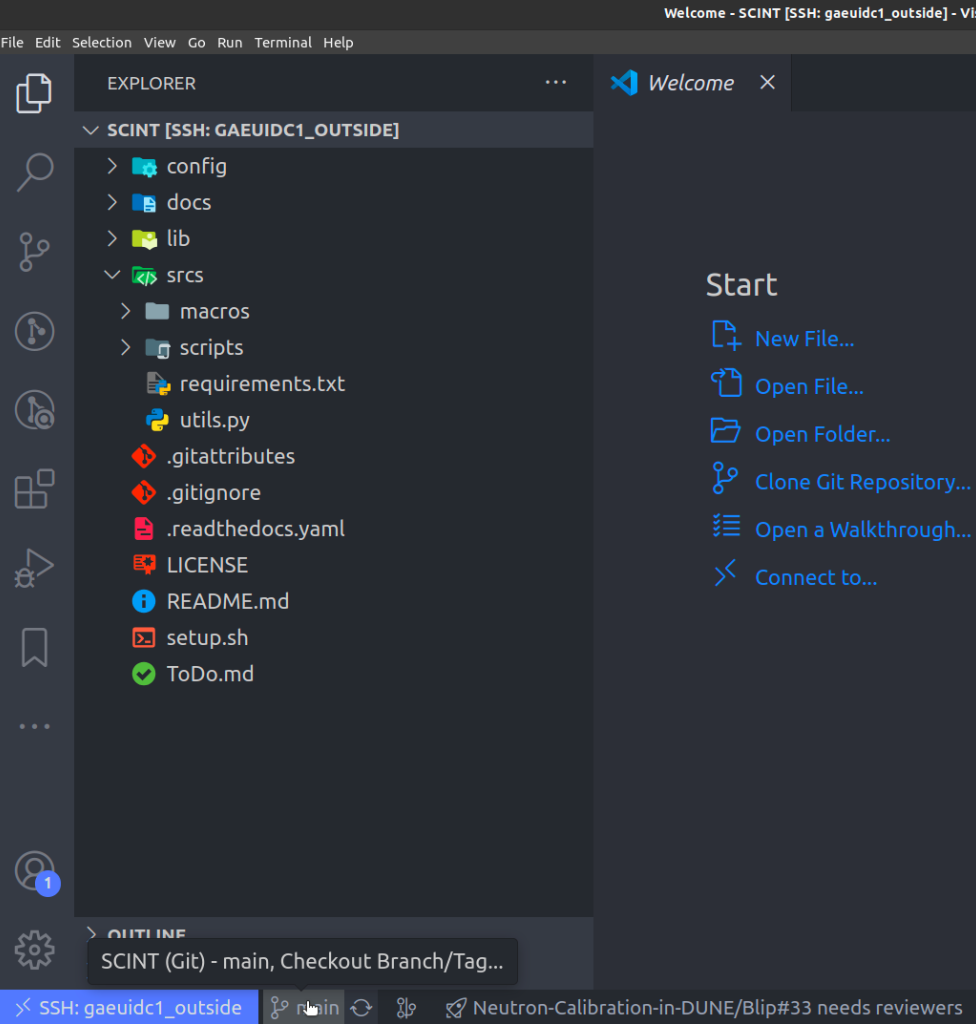
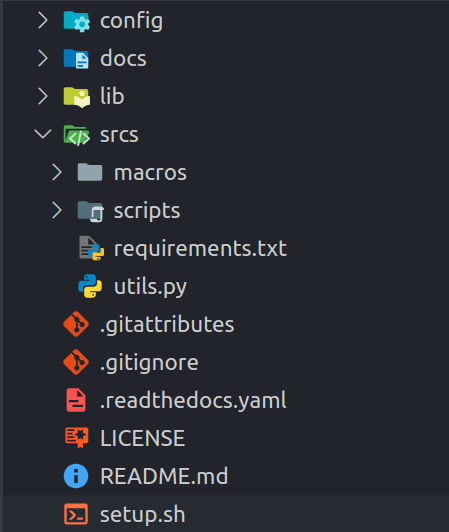
ℹ️ The folder structure you will see is the following ℹ️
.
── config
│   ├── FitConfig.yml
│   ├── options.yml
│   ├── input
│   │   ├── MegaCellLArDic23.txt
│   │   ├── MegaCellLArMar24Extr.txt
│   │   ├── MegaCellLArMar24.txt
│   │   └── TUTORIAL.txt
├── docs
│
├── lib
│   ├── __init__.py
│   ├── ana_functions.py
│   ├── cal_functions.py
│   ├── cut_functions.py
│   ├── dec_functions.py
│   ├── fig_config.py
│   ├── fit_functions.py
│   ├── group_functions.py
│   ├── head_functions.py
│   ├── io_functions.py
│   ├── minuit_functions.py
│   ├── ply_functions.py
│   ├── sim_functions.py
│   ├── sty_functions.py
│   ├── unit_functions.py
│   ├── vis_functions.py
│   └── wvf_functions.py
├── src
│   ├── macros
│   │   ├── info
│   │   └── simulation
│   │       ├── 00ProcessScintAndDeco.py
│   │       ├── 01MCScintAndDeco.py
│   │       └── 02VisMCScintAndDeco.py
│   │   ├── 00Raw2Np.py
│   │   ├── 01PreProcess.py
│   │   ├── 02AnaProcess.py
│   │   ├── 03Integration.py
│   │   ├── 04Calibration.py
│   │   ├── 05Charge.py
│   │   ├── 06Deconvolution.py
│   │   ├── 0VVisPersistance.py
│   │   ├── 0WVisWvf.py
│   │   ├── 0XVisEvents.py
│   │   ├── 0YVisHist1D.py
│   │   ├── 0ZVisHist2D.py
│   │   ├── 10Ana2Root.py
│   │   ├── 11Average.py
│   │   ├── 11AverageSPE.py
│   │   ├── 12GenerateSER.py
│   │   ├── 13Noise.py
│   ├── scripts
│   │   ├── Dockerfile
│   │   ├── make_python_env.sh
│   │   ├── requirementsTeX.txt
│   │   └── Utils.md
│   ├── requirements.txt
│   └── utils.py
├── LICENSE
├── README.md
├── setup.sh
└── ToDo.md
📂 config\input → input txt files are stored here, and they are used as input in all the macros (check TUTORIAL.txt as template)
📂 \lib → all the functions of the library itself are stored here
📂 \srcs → macros and scripts subfolders
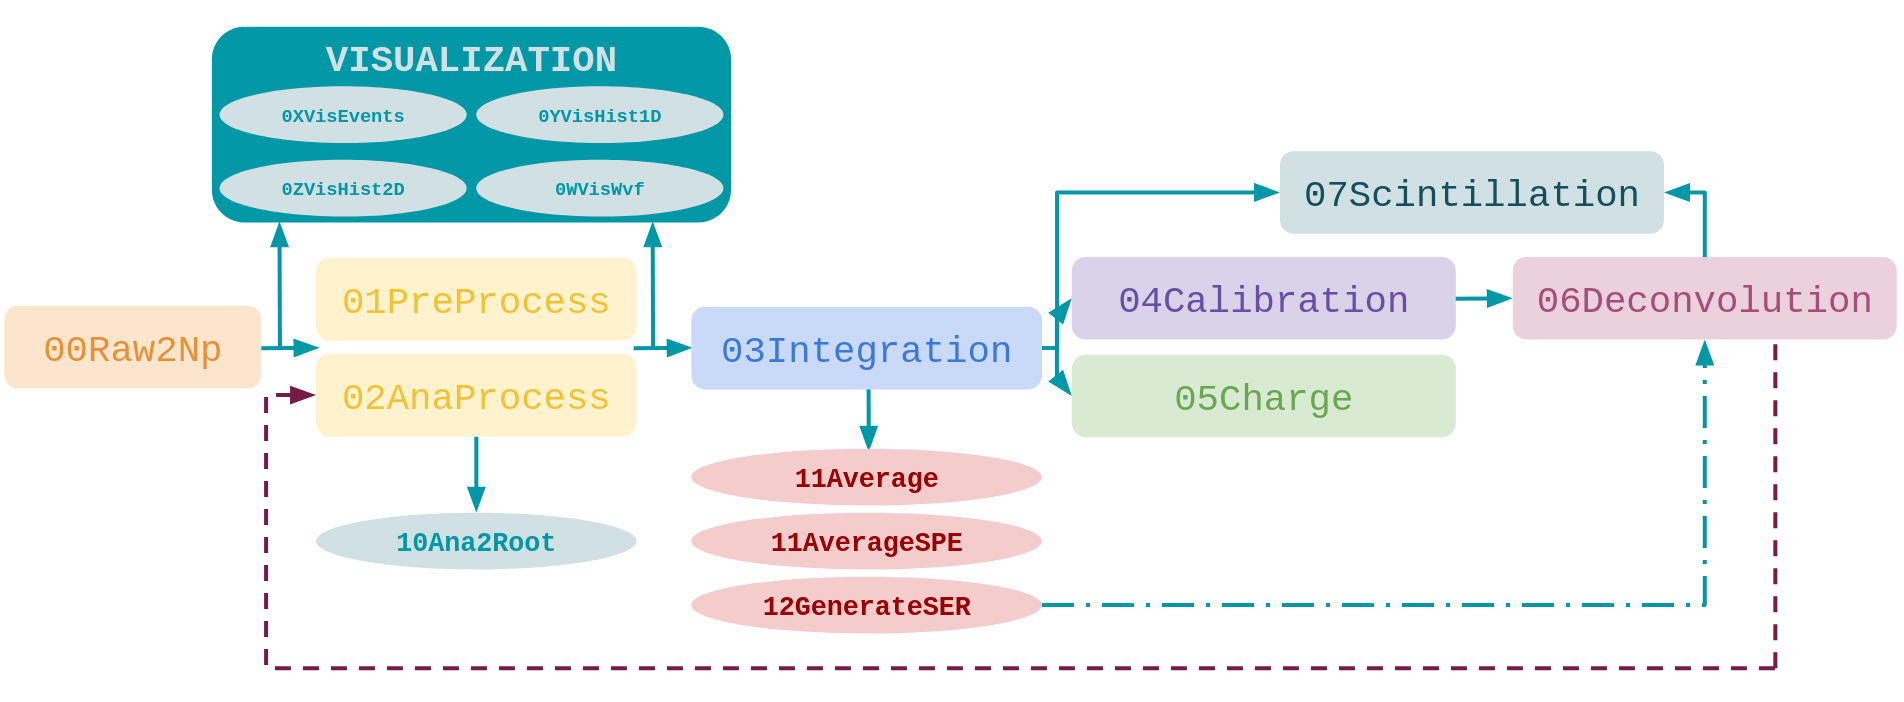
\macros→ macros to run the analysis. 0i are used for visualizing and 0# are used for processing data (they are sorted to make easy to remember the work-flow)\scripts→ the scripts are used to configure the needed packages for the library (make_python_env.sh), create a Docker image and other utilities
💡 Recommendation: It is recommended not to change the content of the scripts so that anyone can run the library from scratch with the initial configuration, except to include improvements, of course 💙.
3. Install packages needed for the library to run#
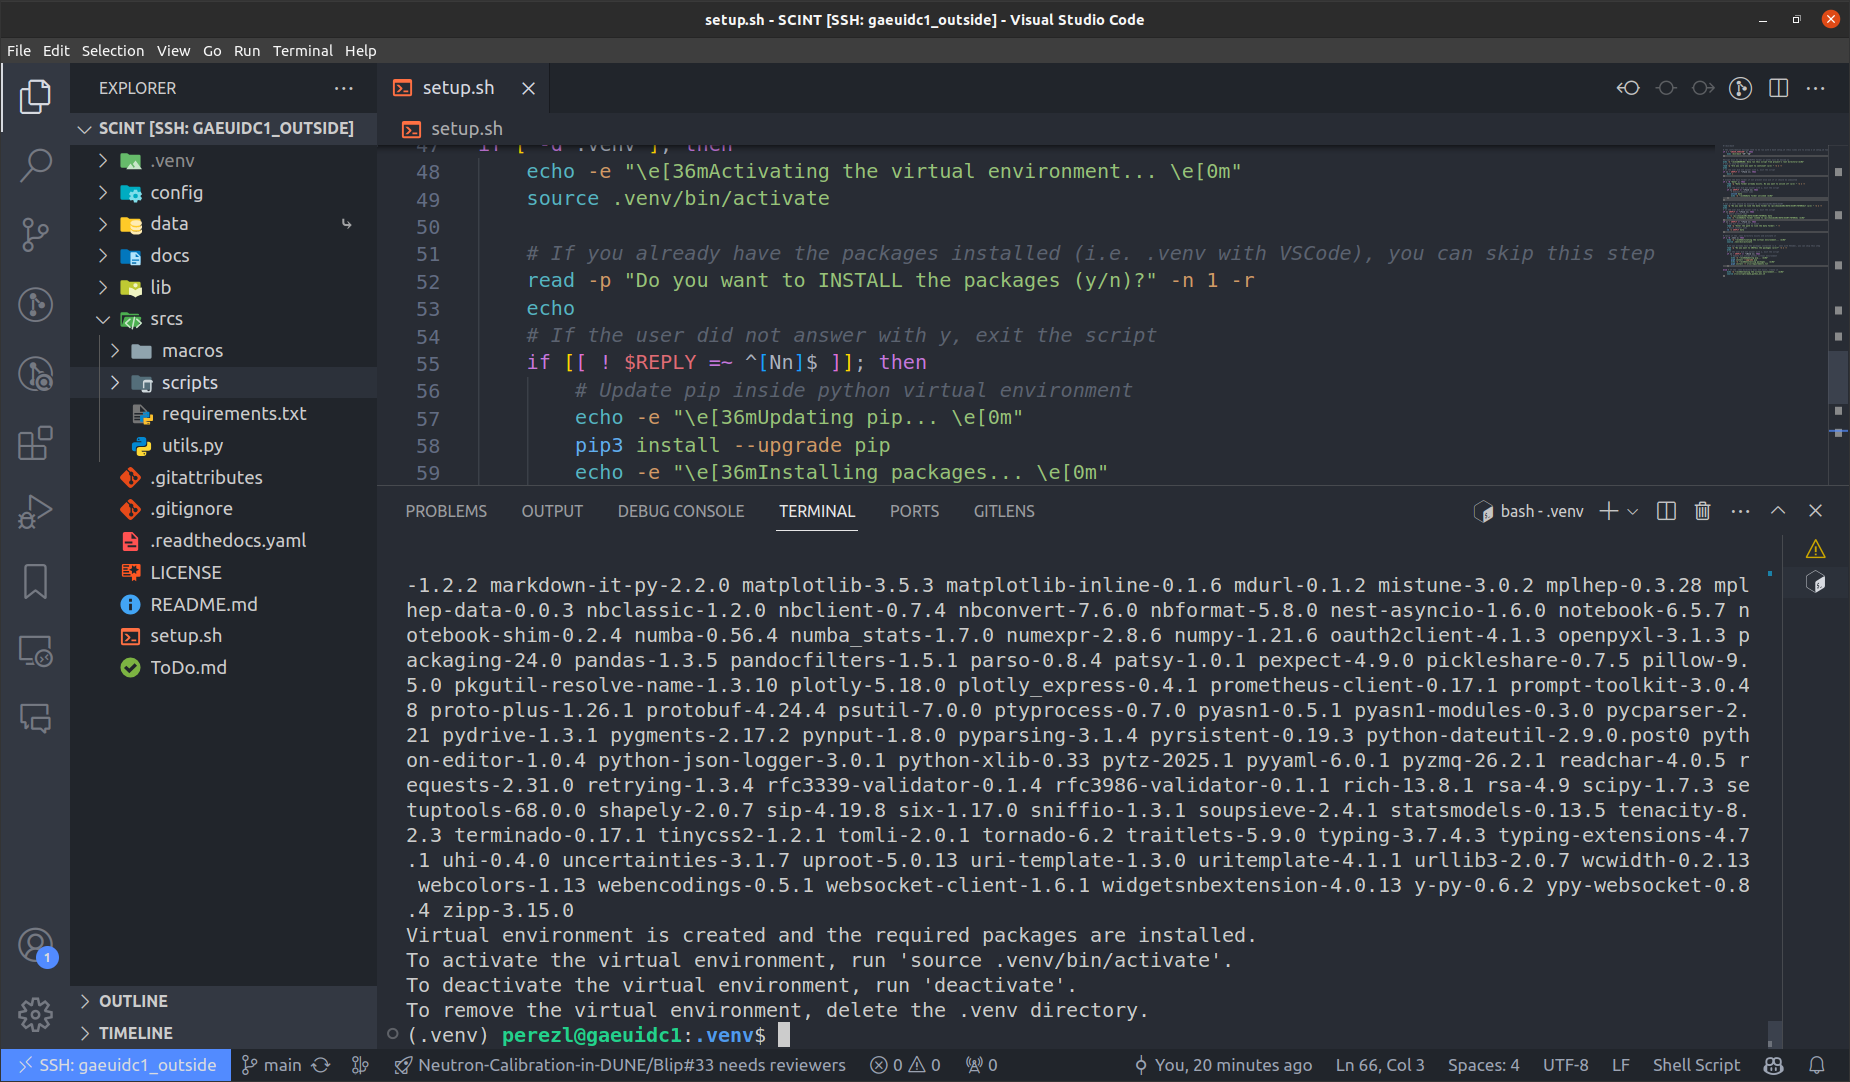
Execute
source setup.shscript that will create a virtual environment to runSCINTwith all the required packages. It will also generate a symbolic link to a folder were data to follow the tutorial is included.

[Pro-users] You can create the virtual environment by your own:
Install VSCode and some extensions: Remote-SSH, Jupyter, vscode-numpy-viewer, Python Environment Manager
CREATE VIRTUAL ENVIROMENT: VSCode venv extension.

You need to source a
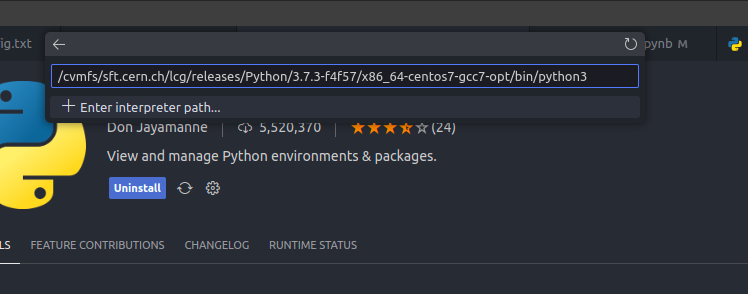
pythonversion installed in your computer [+ Enter interpreter path]. Ingaeuidc1.ciemat.esyou can source to/cvmfs/sft.cern.ch/lcg/releases/Python/3.7.3-f4f57/x86_64-centos7-gcc7-opt/bin/python3(as long as it is>=3.7) (Figure 2). Then it will recommend you the/srcs/requirements.txtpackages, and it will automatically install them (Figure 3) :)
 It will create the environment, and you will be able to see it in the right panel of VSCode (Figure 4). Jupyter notebooks will detect this
 .venvand you can also open terminals and activate it withsource SCINT/.venv/bin/activate.From the terminal
mkdir .venv
cd .venv
/cvmfs/sft.cern.ch/lcg/releases/Python/3.7.3-f4f57/x86_64-centos7-gcc7-opt/bin/python3 -m venv .
source bin/activate
Additionally, if you have sudo permissions you can try an installation requirementsTeX.txt with sudo apt install <requirementsTeX.txt to be able to use LaTeX in the notebooks.